DIY Nail Art
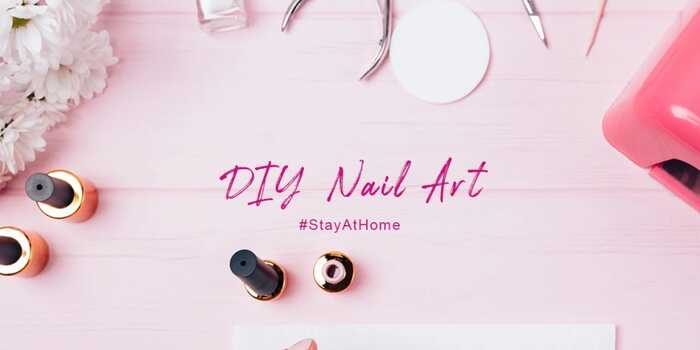
As we are still advised to stay at home and social-distance, and beauty salons still remaining closed, a fresh manicure seems like a distant dream
At Essential Beauty Supplies, we’re treating self-isolation as a long ‘Self-Care Staycation’. Brushing up on our beauty regimes, and using the time to focus on some much-needed self-care, including treating ourselves to a DIY nails manicure/pedicure.
If you’re searching for ideas on how to pass your time at home and distract your mind, then delving into the world of nail art is one of them. Whether you’re a complete nail art newbie or a professional nail technician who wants to practice on themselves. We’ve collated together some simple DIY Nail Art Ideas which you can try at home using the polishes you already have within your collection.
Paint Splatter Nails
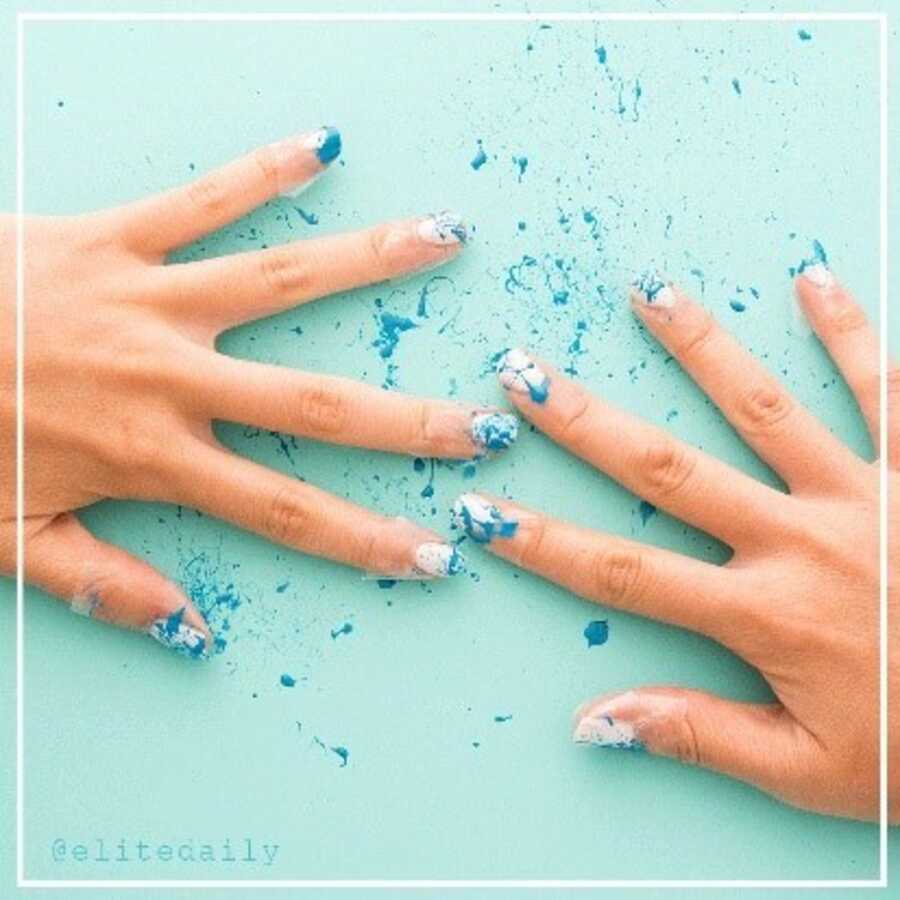
By far one of the easiest DIY Nail Art looks you can re-create at home, without any specialist equipment. This playful look will leave you with a different pattern/design on each nail, creating a unique look. Be prepared, as you’re going to get messy!
Equipment:
1x White Nail Polish, or a pale colour if you don’t have white.
3x Your favourite nail polish shades.
1x Stiff paintbrush, or unused toothbrush.
Cotton buds.
Nail polish remover.
1x Clear polish/top coat.
How to:
Apply your base coat of white nail polish. Pour out your three favourite nail varnish colours onto a clean surface, and dip the end of your brush into your first colour. Firmly stroke the bristles away from the nails so the polish flicks on to the white base. Repeat with all three colours. Clean up the area around your nails by dipping a cotton wool bud into some nail polish remover. Seal with your chosen top coat.
Polka Dot Nails
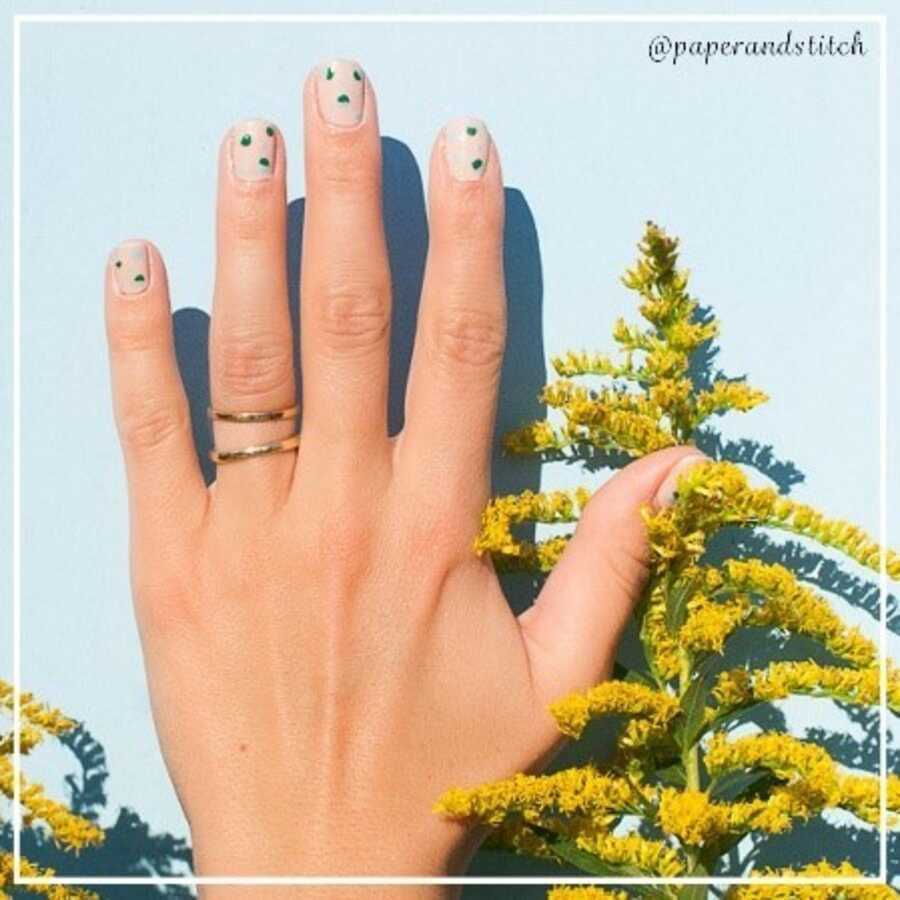
A timeless classic, which is easier than it first appears. Of course, a steady hand is going to help with this DIY. But we have some helpful tips which will aid your dot accuracy.
Equipment:
2x Nail polish shades in contrasting colours.
1x Thin nail art brush, or bobby pin.
1x Clear polish/top coat.
How to:
Decide which out of the two colours you want as your base coat, and then apply two coats. Leave to dry. Dip either a thin nail art brush or end of a bobby pin into your second nail polish colour. Gently press the end of your brush or bobby pin on the nail to form a polka dot. Repeat over all your nails to create the desired polka dot effect. Seal with your chosen top coat.
Top Tip:
Using the end of a bobby pin to create your polka dots will create more precise results.
Get Creative! Try using nail polishes with different finishes, like gloss or matt, to create a multi-textured look.
Gradient/Ombre Nails
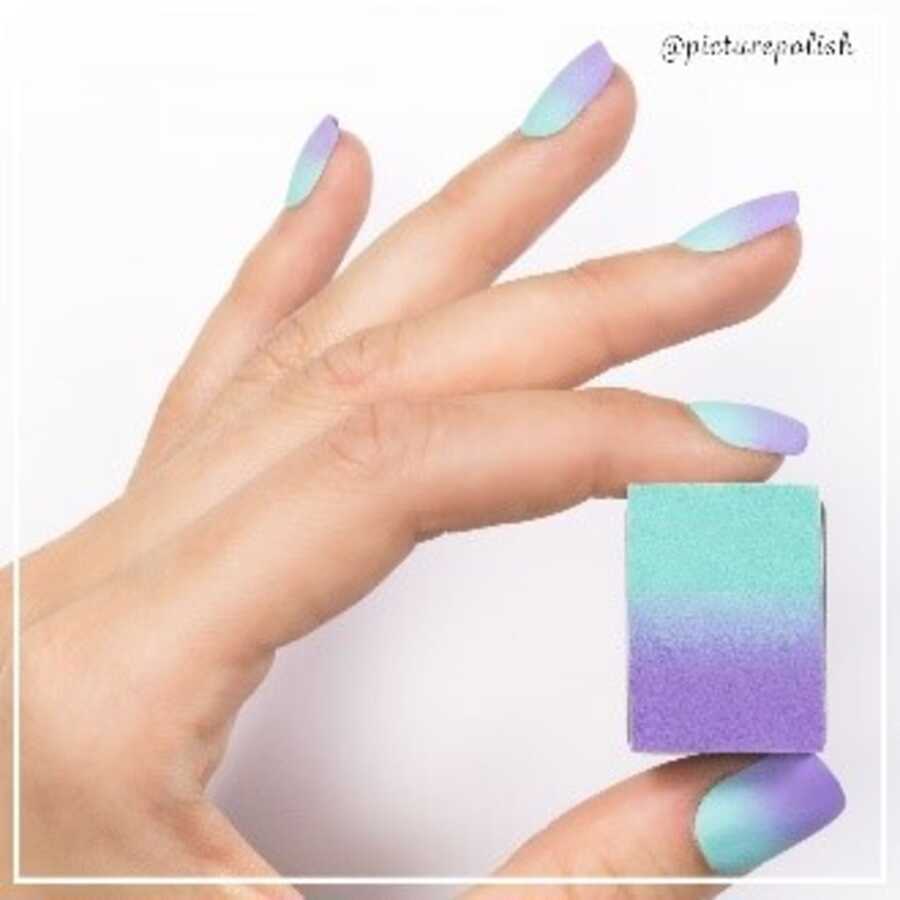
Gradient & Ombre Nails have become a staple favourite throughout the nail industry. At a glance, it might appear to be a difficult finish to master. But we’ve found a DIY technique which achieves great results using items many of us have in our household…
Equipment:
2x Nail polish shades, (1 lighter, 1 darker).
1x Sponge, unused.
Cotton buds.
Toothpicks.
Nail polish remover.
1x Clear polish/top coat.
How To:
Cut your sponge to size, so it covers the surface area of all of your nails. Use the lighter colour polish as your base coat, applying two coats to each nail. On a clean, flat surface, pour out some of each nail polish shade allowing them to overlap slightly in the middle. Use a toothpick, swirl the two colours together in the centre to create a graduation effect.
Now the fun part! Take your sponge, and dap directly into the nail polish. Dab the sponge directly down onto your nail, and continue in a light-up & down motion until you’ve achieved the desired effect. Repeat for all of your nails, and seal with your chosen top coat. Tidy up the nails edges by using a cotton bud dipped in nail polish remover.
Going to give these DIY Nail Art ideas a try? Share your creations with us on Social Media.
Feeling slightly more daring? Have a look at our ‘Nail Trends for Spring 2020’ blog post for more extravagant designs.
Posted on May 27th 2020